
Hello, I'm back again.
I know I'm really active these days because I'm grounded home to study for a course. Anything that doesn't have to do with studying, I'll reignite fire (passion), so that becomes blogging!
Besides that I also went into some Art & Craft, or maybe I should say DIY to the minimum.
I bugged JS to get me a DIY clock because I want to do something for my room, and it's been some time I beautified it, besides adding junk and clothes. I got it from Gmarket SG (now called Qoo10- Singapore) and this is the link >>> here if you are interested.
It says on the website that it's shipped from S. korean but honestly I found the centerpiece of the item made in China. Maybe the idea is from Korea because I haven't seen these clocks in China yet. Okay I'll stop digging into its origins, it's just a clock.
* * *
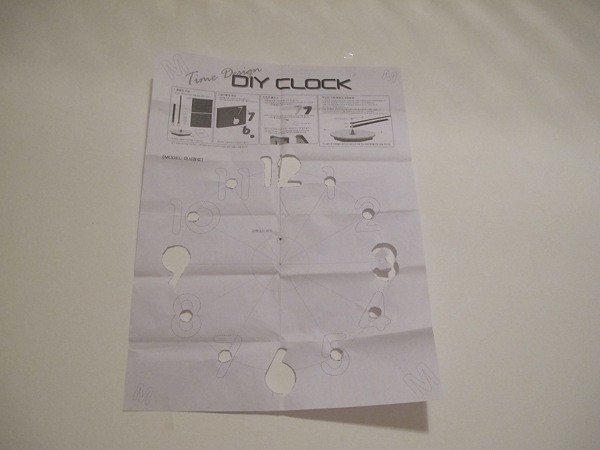
Let's begin with my experiment of DIY clock. At first it looked really complicated because everything is in korean on the instruction sheet, so I went back to the website to read its english instructions but i'll do one here, my version of instructions coupled with free explanations.
#1 Cut
Cut the digits/dots according to your preference. This paper is to ensure your digits/dots do not go out of alignment (very ugly if they do).
If you want the clock to be all numbers (1-12) then cut all the numbers out.
If you prefer all dots, cut the dots (life is easier if you do so)
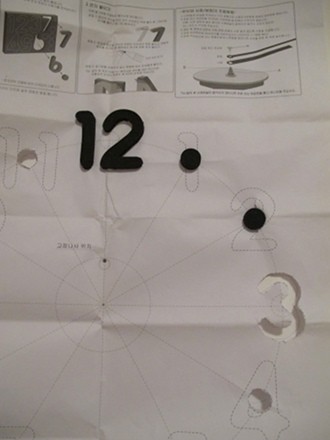
If you prefer a mix like I do, refer to my picture:
#2 Paste it on your wall
I guess you're supposed to trace the digits and/or dots but I short cut the whole thing.
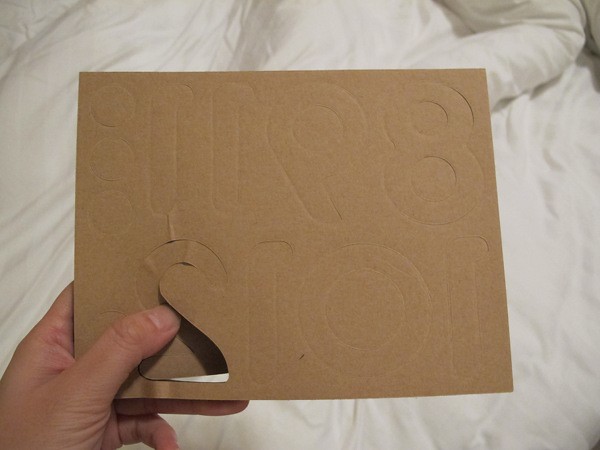
#3 Numbers and dots
The sponge is perforated so you just have to push out the digits and dots that you require. Easypeasylemonsqueezy. I think the toughest part was cutting (#1)
#4 Trace
you should trace out the positions of numbers and dots before pasting but because I'm lazy, I put it over. Smart alec later learnt that I couldn't remove the darn paper, so I began tracing then pasting the figures. :( This tells you that you're not supposed to skip steps.
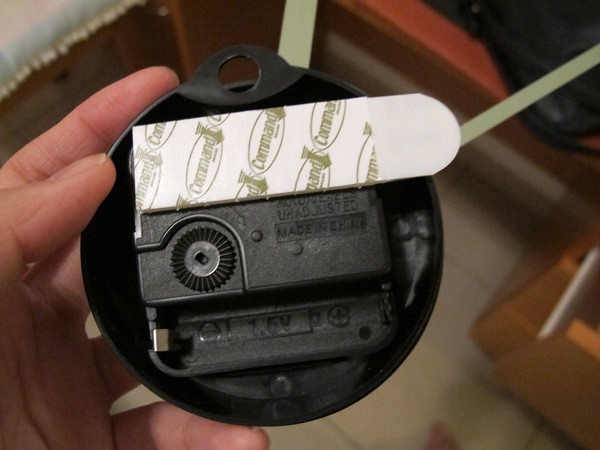
#5 Screw or 3M it! (pun intended)
They advice to drill/drive a screw to secure the mechanisms of the clock - (I choose to call it centerpiece) but because I do not own my Dubai home, I prefer stickies.
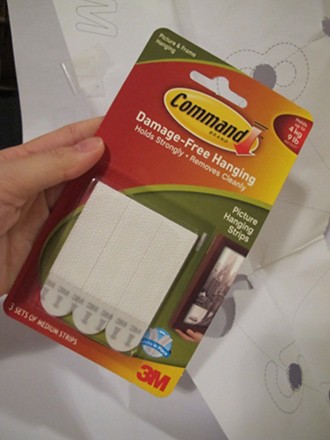
This one is good - doesn't leave a mark. I like!
PLUS - it's removable because it's velcro - so I can replace my battery for the clock! :) 3M's so smart!
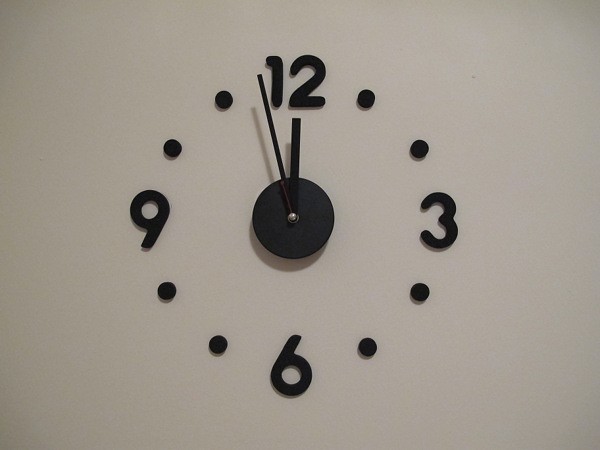
#4 Look at your craft in awe
TADAH!!!
I know black so dull, but it's my all-time favorite color. I know there are silver, pink, blue, white, rainbow blabla, so take your pick!
By the way this is not an ad okay, anyone who says so I will get angry ah, JS paid 100% of it and shared out of goodwill.
The time is pretty accurate and battery included so I'm pretty happy. I don't suppose you want me to write how to fix the second and minute hand for the centerpiece but if you need help just ask away! Except that my room's rather quiet so tick-tock sounds quite loud to me at night. It's very pretty, and I wish I could take a wider view to include my mirror and desk but it's so messy now that I'll be embarrassed to post one up.
I've also edited my Narita pictures but I'll leave it to the next entry to avoid having this one looking too long.
Gonna hit the books again so bye!
I bugged JS to get me a DIY clock because I want to do something for my room, and it's been some time I beautified it, besides adding junk and clothes. I got it from Gmarket SG (now called Qoo10- Singapore) and this is the link >>> here if you are interested.
It says on the website that it's shipped from S. korean but honestly I found the centerpiece of the item made in China. Maybe the idea is from Korea because I haven't seen these clocks in China yet. Okay I'll stop digging into its origins, it's just a clock.
* * *
Let's begin with my experiment of DIY clock. At first it looked really complicated because everything is in korean on the instruction sheet, so I went back to the website to read its english instructions but i'll do one here, my version of instructions coupled with free explanations.
#1 Cut
Cut the digits/dots according to your preference. This paper is to ensure your digits/dots do not go out of alignment (very ugly if they do).
If you want the clock to be all numbers (1-12) then cut all the numbers out.
If you prefer all dots, cut the dots (life is easier if you do so)
If you prefer a mix like I do, refer to my picture:
#2 Paste it on your wall
I guess you're supposed to trace the digits and/or dots but I short cut the whole thing.
#3 Numbers and dots
The sponge is perforated so you just have to push out the digits and dots that you require. Easypeasylemonsqueezy. I think the toughest part was cutting (#1)
#4 Trace
you should trace out the positions of numbers and dots before pasting but because I'm lazy, I put it over. Smart alec later learnt that I couldn't remove the darn paper, so I began tracing then pasting the figures. :( This tells you that you're not supposed to skip steps.
#5 Screw or 3M it! (pun intended)
They advice to drill/drive a screw to secure the mechanisms of the clock - (I choose to call it centerpiece) but because I do not own my Dubai home, I prefer stickies.
This one is good - doesn't leave a mark. I like!
PLUS - it's removable because it's velcro - so I can replace my battery for the clock! :) 3M's so smart!
#4 Look at your craft in awe
TADAH!!!
I know black so dull, but it's my all-time favorite color. I know there are silver, pink, blue, white, rainbow blabla, so take your pick!
By the way this is not an ad okay, anyone who says so I will get angry ah, JS paid 100% of it and shared out of goodwill.
The time is pretty accurate and battery included so I'm pretty happy. I don't suppose you want me to write how to fix the second and minute hand for the centerpiece but if you need help just ask away! Except that my room's rather quiet so tick-tock sounds quite loud to me at night. It's very pretty, and I wish I could take a wider view to include my mirror and desk but it's so messy now that I'll be embarrassed to post one up.
I've also edited my Narita pictures but I'll leave it to the next entry to avoid having this one looking too long.
Gonna hit the books again so bye!
